
Online Tools
Add a readable text watermark to your photos
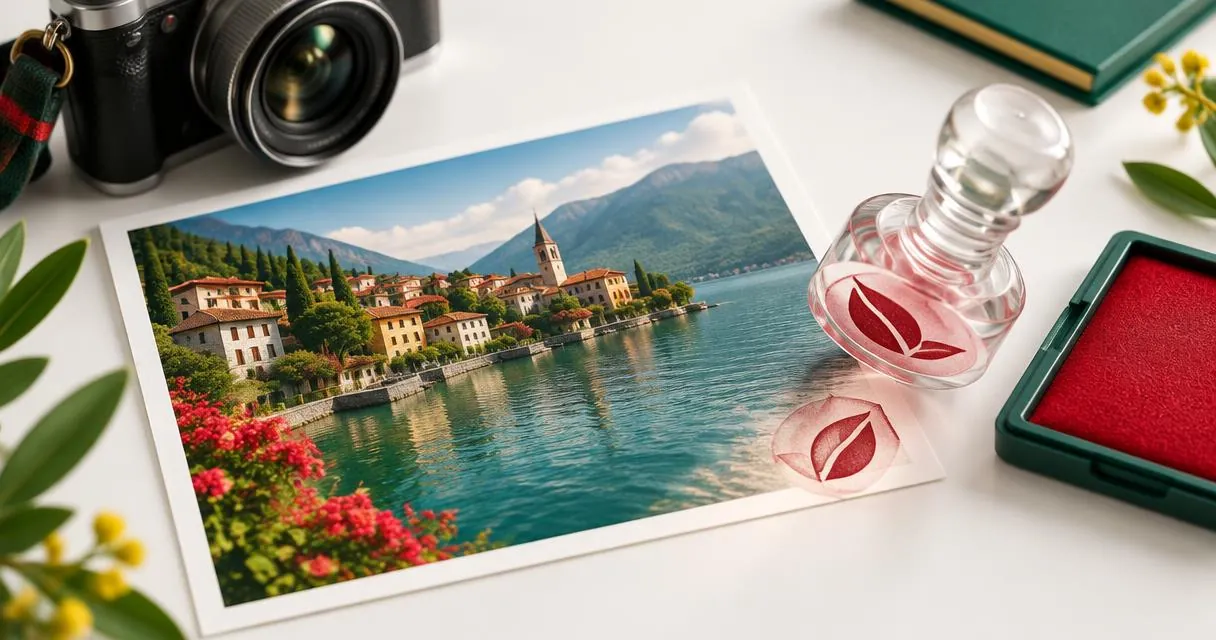
Add a watermark to your photos with clear text and sensible placement. Learn what the free tool supports and how to avoid hiding important details.
A watermark is a visible mark placed over an image, often to identify its source or label it as a sample. To add one with MayreDukaan, open the image watermark tool, choose your photos, enter the text, select a position and generate the results.
This tool adds text watermarks, not uploaded logos. It is useful for a short business name, creator name or sample label. A watermark is not a guarantee against copying, so keep your original files and avoid treating the mark as a substitute for sensible publishing decisions.
Decide what the watermark needs to say
Choose text that helps someone identify the source without covering the subject. A short studio name is often easier to place than a long sentence. If you use contact information, include only information you actually want visible wherever the picture is shared.
Match the message to the purpose. A portfolio proof might need a sample label; a product photograph might need a business name. Do not mark work you do not own in a way that falsely implies authorship.
The U.S. Copyright Office explains that photographs receive copyright protection when fixed. That is U.S.-specific guidance, not a statement that a watermark creates rights everywhere. If you need advice about ownership, permissions or a dispute in your country, consult the appropriate local authority rather than relying on a branding tool.
Add a text watermark step by step
- Open the image watermark tool and add the photographs you want to mark.
- Replace the default wording with your own short text. Check spelling, spacing and contact details.
- Select a position: a corner or the centre.
- Press Add watermark to process the selected images.
- Download the results individually or use the ZIP option when multiple outputs are available.
- Open the saved copies and review the mark on every image before publishing.
The same text and placement setting apply across the selected photos. Images are processed in the browser, and the original file is not overwritten by the downloaded result.
If the photos vary widely in composition, prepare them in smaller groups. A bottom-right mark may suit one picture but overlap the subject in another.
Understand the styling controls and limits
The watermark is bold text with a partly transparent white fill and a dark outline. Its size is calculated from the image width, with a minimum font size. The interface does not offer custom fonts, colour selectors, a free opacity slider, tiled repetition or a logo upload.
| Placement | Useful when | Check before publishing |
|---|---|---|
| Bottom corner | The subject leaves room near the lower edge | Text does not cover a product feature |
| Top corner | The lower area is busy | Text is not lost against a pale sky or wall |
| Centre | A sample needs a prominent label | The mark does not make the work impossible to evaluate |
Placement is a balance between visibility and readability of the photo itself. There is no position that makes copying impossible. Choose a sensible compromise for your actual use.
Practical example: watermark a product collection
Imagine you have four photographs of handmade jewellery and want to identify the studio. Enter a short name such as “River Studio” and choose the bottom-right corner. Generate the results, then review the clasp, chain and stone in each photograph.
If the mark overlaps a clasp in one image, process that photo separately with a different position. Do not assume identical settings create equally good results across every composition.
If you are also preparing social posts, finish framing first with the image cropper, then set the final width with the image resizer, and add the watermark afterward. This avoids accidentally cropping away the mark during your own final preparation.
Common mistakes and quality checks
- Using too much text. Long wording may extend beyond the canvas because the tool is not a text-wrapping layout editor.
- Expecting a logo stamp. Only text is supported in this version.
- Ignoring the final viewing size. Inspect a reduced preview to decide whether the wording remains useful.
- Publishing from the original by mistake. Give the downloaded copies an organised folder and confirm which version you are sharing.
- Relying on the watermark as security. Keep the unmarked source and your own records separately.
The implementation exports PNG inputs as PNG, WebP inputs as WebP and other browser-readable inputs as JPG. Check the saved extension rather than assuming every source format is preserved. MDN's canvas documentation also notes that browsers may fall back to PNG when a requested export type is unsupported.
Publish a clear, identifiable photo
A good watermark identifies the source while leaving the subject easy to understand. Keep it short, inspect each composition and preserve unmarked originals. Start with one image in the text watermark tool, settle on a sensible position, then process the rest of the collection.
Frequently asked questions
Can I upload a logo watermark?
No. This version adds text only, with predefined positions and automatically calculated styling.
Can a watermark prevent all copying?
No. It provides visible identification but is not a technical guarantee against editing or reuse.
Can I watermark multiple photos?
Yes. Add multiple images and apply the same text and position to them, then inspect each result.
Useful on MayreDukaan
Sources
- U.S. Copyright Office: What photographers should know about copyright
- MDN: HTMLCanvasElement toBlob method
Facts last checked against these sources on 15 Nov 2026, 07:42 Pakistan time.
Images: Illustration created for MayreDukaan (not a photo)
More trending articles
 EntertainmentWatch Pakistani News Live Through Official Links15 Nov 2026 · 4 min read
 Pakistani DramasWatch Pakistani Dramas Online on Official Channels15 Nov 2026 · 5 min read
 Shopkeeper GuidesTake Your Shop Online in Pakistan: Setup Guide15 Nov 2026 · 4 min read
 Shopkeeper GuidesInstall the MayreDukaan APK on Android: A Guide15 Nov 2026 · 4 min read