
Online Tools
Compress images while protecting the details that matter
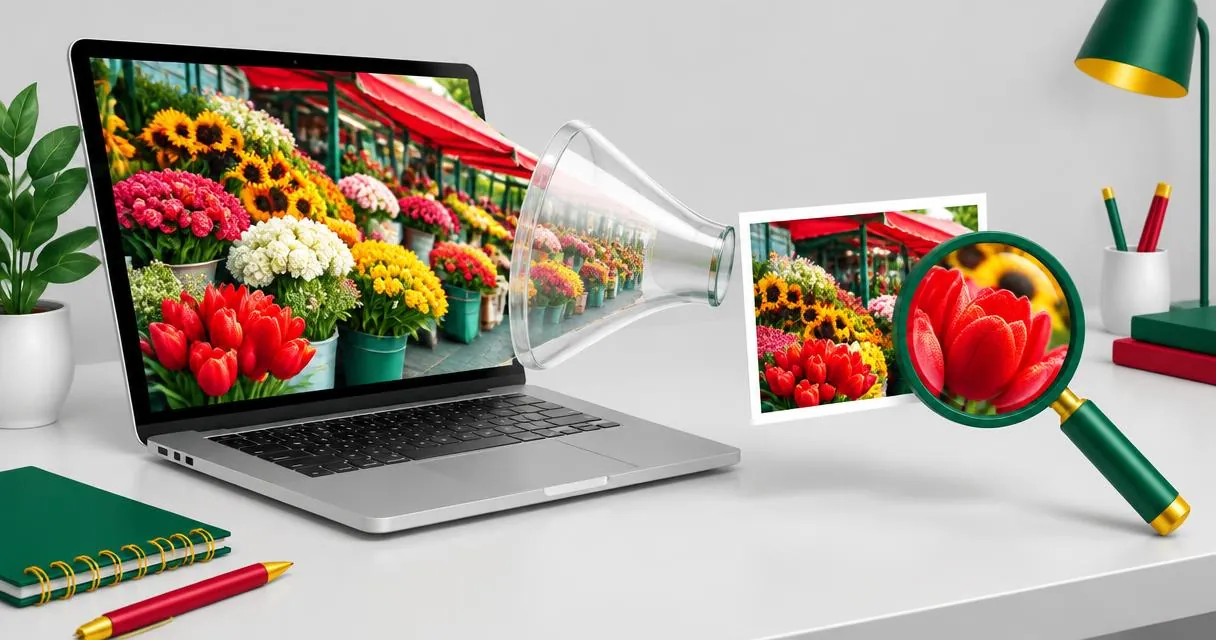
Learn how to compress image files with less visible damage. Compare formats, test quality settings and resize photos when dimensions are excessive.
You can compress image files with little visible change, but that is not always the same as losing no information. Lossless compression preserves image data; lossy JPEG or WebP export can discard information even when the result looks similar. Start with a copy, compare the output, and keep your original.
The MayreDukaan image compressor lets you choose JPG, PNG, or WebP output and adjust quality. It displays before-and-after file sizes, but it does not guarantee a reduction or provide an exact target-KB setting.
Understand what “without losing quality” means
There are two different goals. A designer may need mathematically lossless storage for a graphic. Someone sharing a photograph may only need a smaller copy with no distracting change at the intended viewing size.
MDN describes PNG as lossless and JPEG as lossy. Google's WebP documentation confirms that WebP supports both approaches. However, a format's capabilities do not mean every tool exposes all its encoding modes.
This compressor uses browser canvas export. Its adjustable-quality JPG and WebP outputs should not be described as guaranteed lossless. Selecting PNG is not a guarantee that the new file will be smaller than its source, either.
A quality value is an encoding preference, not a percentage of original detail retained. Setting 75% does not mean exactly one quarter of the information disappears or that the file becomes a quarter smaller.
How to compress an image in the tool
- Open the image compressor.
- Add one or more images your browser can read.
- Choose an output format suited to the destination.
- Set quality. The initial setting is 75%; treat this as a test rather than a universal recommendation.
- Press Compress and read each before-and-after size.
- Download the result and inspect the actual file.
- Repeat from the original with a different setting if necessary.
Processing happens in your browser on your device. The code draws the image to a canvas and creates a downloadable file locally; it does not send your images to our servers.
The compressor retains the image's pixel dimensions. To change width and height, use the image resizer as a separate step. It accepts a width and calculates a proportional height.
Choose a format before lowering quality
| Image need | Starting point | What to check |
|---|---|---|
| Ordinary photograph without transparency | JPG or WebP | Faces, texture, gradients |
| Transparent graphic | PNG or suitable WebP | Background and fine edges |
| Screenshot with small text | PNG as a comparison copy | Letter edges and readability |
| Destination accepts only JPEG | JPG | White background and visible artifacts |
JPEG cannot preserve transparency. This compressor fills transparent areas white when you choose JPEG output. If the picture is meant to sit on a coloured background, that change can matter more than the file-size saving.
Browser canvas quality settings apply to lossy formats such as JPEG and WebP. Lowering the slider is not a reliable way to make PNG smaller. Compare actual output instead of expecting every control to behave identically across formats.
Resize only when the dimensions are unnecessary
A photo intended for a modest space may not need the camera original's full pixel dimensions. Reducing width and height can help with a delivery copy, but it is an edit that removes pixels, not a lossless compression technique.
Read any destination requirements first. A form or design may require minimum dimensions. Do not shrink below them simply to reach a file-size ceiling.
For a practical workflow, resize a copy once to appropriate dimensions, then test compression on that copy. Preserve the camera original separately. Avoid enlarging a small image in the hope that it creates genuine detail.
Practical example: preparing a product photo
Suppose you need a product photograph for a listing with a stated file-size ceiling. Begin with the sharp original and note the destination's accepted formats and dimensions. Try the compressor at its initial setting, download the result, and compare it beside the original.
Inspect the product label, textured surfaces, and edges against the background. If the file meets the limit and those details remain useful, there is no need to chase the smallest possible output. If it is too large, decide whether reducing excess dimensions is preferable to a large quality reduction.
Try WebP only if the destination accepts it. You can also use the dedicated JPG to WebP converter for a delivery-format comparison. A different extension is useful only if the receiving workflow can use it.
Common mistakes that damage results
Repeatedly compressing the previous export. Return to the best available source for each trial. Earlier lossy changes cannot be undone by a later high setting.
Comparing only tiny previews. Open the download at the intended viewing size, and inspect important details more closely where necessary.
Equating size reduction with success. A tiny unreadable label or blurred document is not a successful delivery file.
Expecting an exact target. This tool has format and quality controls, not a box that guarantees a chosen number of kilobytes. Check the downloaded file before submitting it.
For a controlled result, choose the correct format, keep suitable dimensions, and stop when quality and size meet the task. Start with the image compressor and judge the real download rather than the slider alone.
Frequently asked questions
Is compression always lossless?
No. JPEG and adjustable-quality WebP exports can be lossy. Looking unchanged at a particular viewing size is not proof of pixel-identical output.
Does the compressor change pixel dimensions?
No. It exports at the decoded image’s existing dimensions. Use the image resizer when width and height need changing.
Can I enter an exact 100 KB target?
No. The tool provides format and quality settings and shows resulting sizes. Recheck the output and adjust manually.
Why does the PNG quality slider not help?
Canvas quality parameters apply to lossy encodings such as JPEG and WebP. PNG output does not use the slider as a lossy-quality control.
Useful on MayreDukaan
Sources
- MDN: Image file type and format guide
- Google Developers: An image format for the Web
- MDN: HTMLCanvasElement toBlob method
Facts last checked against these sources on 15 Nov 2026, 07:42 Pakistan time.
Images: Illustration created for MayreDukaan (not a photo)
More trending articles
 EntertainmentWatch Pakistani News Live Through Official Links15 Nov 2026 · 4 min read
 Pakistani DramasWatch Pakistani Dramas Online on Official Channels15 Nov 2026 · 5 min read
 Shopkeeper GuidesTake Your Shop Online in Pakistan: Setup Guide15 Nov 2026 · 4 min read
 Shopkeeper GuidesInstall the MayreDukaan APK on Android: A Guide15 Nov 2026 · 4 min read