
Online Tools
Combine two to nine photos into a clean online collage
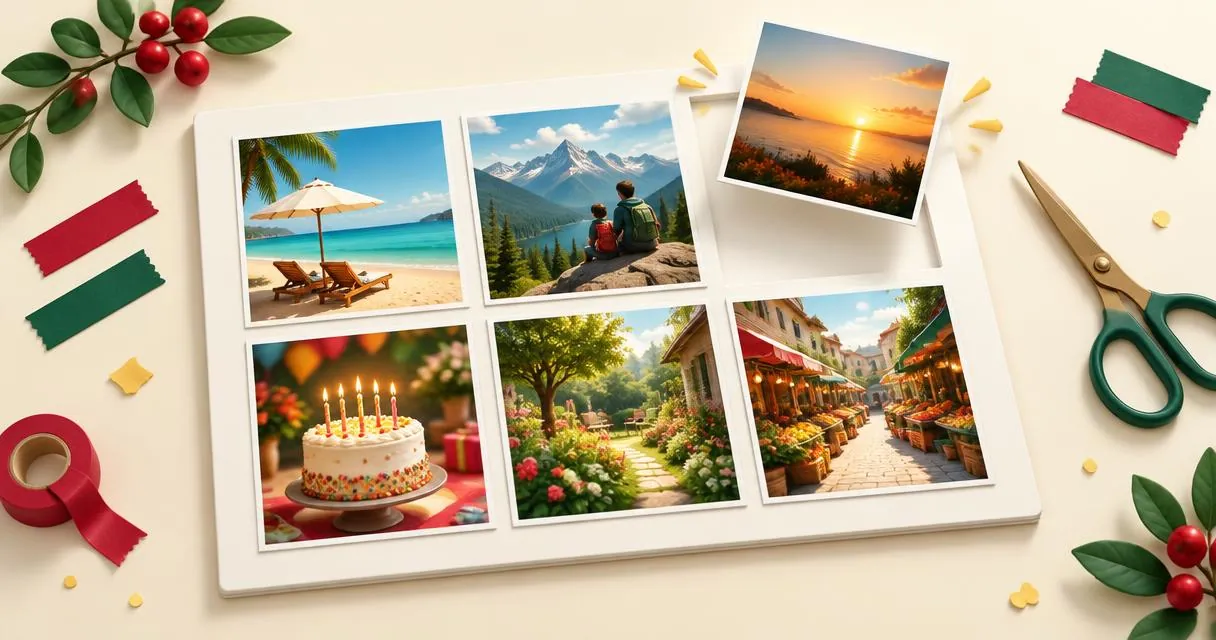
Make a photo collage online with two to nine pictures. Choose columns and spacing, understand square cropping, and download one finished JPG image.
To make a photo collage online, add two to nine images to the collage maker, choose the number of columns and the gap size, then press Make collage. Download the result as one JPG. It is a simple grid tool rather than a scrapbook editor with stickers, captions and free-positioned layers.
Every photo becomes a square tile cropped from the centre. That makes a tidy grid easy to create, but it also means you should choose your source images carefully. Check that faces, products and other important details will survive a square crop.
Plan what the collage should communicate
A useful collage has a clear job: compare two views, show a small collection, or tell a short visual story. Decide that job before adding pictures. If two images explain the subject, including nine may make the result harder to read.
Choose photos with broadly consistent lighting and enough detail for the intended viewing size. For a before-and-after comparison, use a similar camera angle so the reader can compare the subject rather than the framing. For products, keep the object at a similar scale in each tile.
Prepare any individual adjustments before combining the images. The image editor provides whole-image brightness, contrast, saturation and blur controls, while the image cropper can prepare square versions.
Build the collage step by step
- Open the collage maker and choose two to nine photos in the order you want them displayed.
- Select Columns. The interface offers two, three or four columns, limited in the final layout by the number of images.
- Set Gap to None, Small or Large.
- Press Make collage and examine the finished grid.
- Download the JPG, open it from your downloads and inspect each tile.
Images are placed left to right and then top to bottom, in selection order. There is no drag-to-reorder interface. If the sequence is wrong, use Clear and select the images again in the desired order.
The collage is drawn in the browser using your selected files. It does not require sending those images to a remote collage-processing service.
How columns, gaps and dimensions work
Each tile is 600 × 600 pixels. Small gaps are 12 pixels; large gaps are 32 pixels. Gaps are white and appear around the outer edge as well as between tiles. The final size therefore depends on the number of rows and columns, not just the number of photos.
| Example selection | Layout | Gap | Resulting dimensions |
|---|---|---|---|
| Four photos | Two columns, two rows | None | 1200 × 1200 pixels |
| Four photos | Two columns, two rows | Small | 1236 × 1236 pixels |
| Six photos | Three columns, two rows | Small | 1848 × 1236 pixels |
| Nine photos | Three columns, three rows | Large | 1928 × 1928 pixels |
These dimensions follow the tool's layout calculation. An incomplete last row leaves unused white space; the tool does not automatically stretch the remaining images into a magazine-style arrangement.
Practical example: a six-photo collection
Suppose you want to show six handmade bowls as one image. Choose a photograph of each bowl, keeping the object near the centre. Add the photos in the order you want viewers to scan them, choose three columns and Small gaps, then generate the collage.
You get two rows of three square photos. Inspect the rims and handles in every tile. If one bowl is cut off, fix that source image before recreating the collage; the tool cannot move the picture inside its tile.
If the final image needs a particular width, use the image resizer afterward. Resizing preserves the overall proportions, so it will not turn a rectangular collage into a square one.
Common mistakes to avoid
- Adding more than nine pictures. This tool retains up to nine images, not an unlimited collection.
- Expecting movable frames. The layout uses fixed square tiles and a centred crop.
- Choosing a busy layout for a tiny destination. Preview the exported collage at approximately the size people will see it.
- Assuming transparency is preserved. The collage is drawn onto white and exported as JPG, not as a layered or transparent file.
- Preparing text-heavy screenshots as photos. Check whether the words remain readable after fitting the screenshot into a square tile.
MDN documents that JPEG uses lossy compression. Keep the source photographs rather than treating the downloaded collage as your only archive. Rebuild from those sources when you need a different selection or arrangement.
Make the simplest layout that works
A collage should make comparison easier, not merely fit more pictures into one attachment. Select a small, coherent set, review the centre crops and check the finished JPG. Open the photo collage maker and begin with two or four images to test the layout.
Frequently asked questions
How many photos can I combine?
The collage maker accepts two to nine photos. Use Clear to start over if you need a different selection or sequence.
Can I move an image inside a tile?
No. Each tile uses a centred square crop, so prepare off-centre subjects in another editor first.
Can I download a transparent collage?
No. This tool creates a JPG on a white background.
Useful on MayreDukaan
Sources
Facts last checked against these sources on 15 Nov 2026, 07:42 Pakistan time.
Images: Illustration created for MayreDukaan (not a photo)
More trending articles
 EntertainmentWatch Pakistani News Live Through Official Links15 Nov 2026 · 4 min read
 Pakistani DramasWatch Pakistani Dramas Online on Official Channels15 Nov 2026 · 5 min read
 Shopkeeper GuidesTake Your Shop Online in Pakistan: Setup Guide15 Nov 2026 · 4 min read
 Shopkeeper GuidesInstall the MayreDukaan APK on Android: A Guide15 Nov 2026 · 4 min read