
Online Tools
Remove a photo background and choose the right download
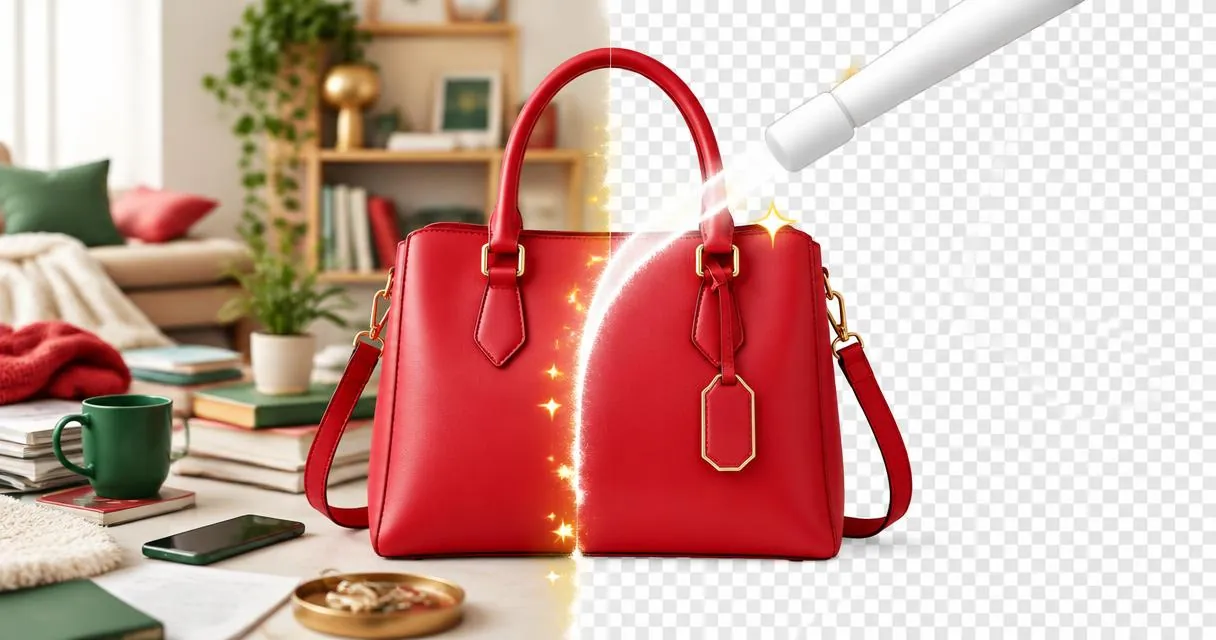
Learn how to remove background from a photo for free, choose transparent PNG or white JPG, and check tricky edges before downloading your result.
To remove background from a photo, open the background remover, choose an image, wait for processing, then download a transparent PNG or a white-background JPG. Start with a clear subject and inspect the result before using it in a listing, presentation or profile.
The tool processes the photo in your browser rather than uploading it for remote editing. It does need to download processing resources, so the first attempt requires an internet connection and may take longer. Treat background removal as a starting point, not a guarantee of a perfect cutout.
Choose a photo that makes the job easier
Use an original image you own or have permission to edit. Look for clear separation between the subject and its surroundings. A dark bag against a pale wall is a more straightforward test than a clear glass against a patterned tablecloth.
Before starting, check whether you actually need to remove anything. A tidy photograph with a natural background can be more useful than a cutout with missing edges. If you only need to exclude distracting objects near the border, try the image cropper instead.
Keep a separate copy of the source. That gives you somewhere to return if the cutout loses a handle, strand of hair or thin product detail.
Remove the background step by step
- Open the background remover and select a photo from your device. The interface highlights JPG, PNG and WebP as input options.
- Leave the page open while the processing resources load and the subject is separated from the background.
- Compare the original and result previews. Look around the entire outline rather than only at the centre.
- Select Transparent PNG if you want to place the subject over another design, or White background JPG for a solid white result.
- Press Download and open the saved file to check it again.
There is no manual edge brush in this version. If the outline is wrong, try another photograph or prepare a simpler source rather than searching for a hidden touch-up control.
Transparent PNG or white JPG?
The choice changes how the result can be reused. MDN's image-format guide documents PNG's support for transparency and JPEG's lack of an alpha channel.
| Download | Background | Useful next step |
|---|---|---|
| Transparent PNG | Transparent outside the cutout | Place over a coloured design or banner |
| White-background JPG | White outside the cutout | Share as an ordinary photo with a white backdrop |
A checkerboard in the preview indicates transparent areas; it is not a decorative background you are adding. Conversely, choosing JPG deliberately fills those areas with white. Renaming the JPG file to end in PNG will not recover transparency.
Keep the transparent version if you expect to make several layouts later. You can always choose a white result separately when that is the version you need.
Practical example: a product photo for two uses
Suppose you photograph a ceramic mug on a kitchen counter. You want one plain image for a product listing and another for a seasonal banner.
First, remove the background and inspect the rim and handle. The hole inside the handle is particularly worth checking. If the cutout is acceptable, download a white JPG for the listing. Then choose transparent PNG and download a reusable cutout for your design workflow.
If you need a smaller image afterward, use the image resizer. Do not assume that a clean background also means the file meets a destination's pixel or file-size requirements. Those are separate checks.
Common mistakes and troubleshooting
- Ignoring fine edges. Inspect hair, fur, transparent objects and narrow gaps closely. If necessary, use a different source photo.
- Expecting a background replacement editor. The available choices are transparency and white, not a library of scenery or custom backgrounds.
- Closing the tab too soon. Wait for the result and download before leaving the page.
- Retrying the same oversized file repeatedly. If processing fails, try a smaller photo, close other tabs or move to a computer, as the tool's error guidance suggests.
- Discarding the original. A clean-looking preview can still hide missing detail that becomes obvious in another layout.
For important work, view the saved result against both a light and a dark background in your design application. This is a useful visual check for pale fringes and small leftover patches, not an extra repair feature of the remover.
Finish with a usable image
Choose the background treatment for the job, not simply the first download option. Check edges, confirm the saved file opens, and retain the source alongside the finished copy. Ready to try it? Open the free background remover and test one clear photo before preparing a larger set.
Frequently asked questions
Are my photos uploaded for background removal?
The background-removal implementation processes the photo on your device. It downloads processing resources to the browser rather than sending your photo to a remote editing service.
Which download keeps the background transparent?
Choose Transparent PNG. The white-background JPG option fills the transparent area with white.
Can I fix an edge with a brush?
This version has no manual edge-refinement brush. Try a clearer source photograph if the automatic result misses important details.
Useful on MayreDukaan
Sources
Facts last checked against these sources on 15 Nov 2026, 07:42 Pakistan time.
Images: Illustration created for MayreDukaan (not a photo)
More trending articles
 EntertainmentWatch Pakistani News Live Through Official Links15 Nov 2026 · 4 min read
 Pakistani DramasWatch Pakistani Dramas Online on Official Channels15 Nov 2026 · 5 min read
 Shopkeeper GuidesTake Your Shop Online in Pakistan: Setup Guide15 Nov 2026 · 4 min read
 Shopkeeper GuidesInstall the MayreDukaan APK on Android: A Guide15 Nov 2026 · 4 min read