
Online Tools
How to reduce photo size in KB without guessing
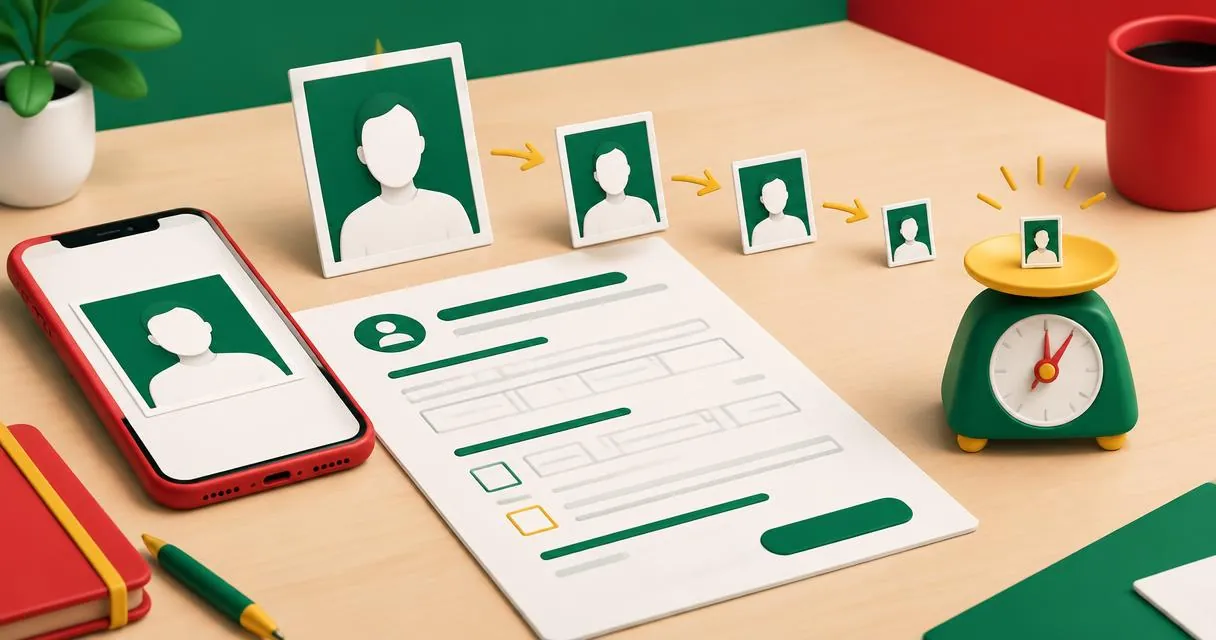
Reduce photo file size with quality controls and proportional resizing. Learn how to check a KB limit without assuming the tool has an exact-size setting.
To reduce image size in KB, use compression first, then reduce pixel dimensions if the file is still too large. MayreDukaan’s image compressor lets you choose JPG or WebP and adjust quality, but it does not have a target-KB box. Reaching a particular upload limit means checking the result and adjusting it yourself.
For a Pakistani job application, admission form or shop listing, start with the receiving page’s own instructions. The examples below use hypothetical limits, not rules for any particular Pakistani portal.
Check what the upload form actually requires
Write down three separate requirements before editing: maximum file size, permitted format and required dimensions. A photo can satisfy one requirement while failing another. A smaller JPG is no help if the page specifically asks for PNG, and a file under the KB limit can still have the wrong width.
Use image info to inspect the starting image’s width, height, reported format and displayed file size. Keep the original so you can return to it if an export becomes unreadable.
| Requirement | What it controls | What to do |
|---|---|---|
| Maximum file size | How much data the file contains | Compress and check the downloaded result |
| Width and height | The image’s pixel dimensions | Resize only within the form’s rules |
| Accepted format | Which file types the form accepts | Choose a permitted output, not just a smaller one |
| Legibility | Whether important details remain clear | Inspect faces, signatures and text before submitting |
The tools display rounded size labels. Treat those as a guide rather than proof that a borderline file meets a strict byte limit. Leave some room below the stated maximum and check the actual downloaded file if necessary.
Reduce image size in KB online: step by step
- Open the image compressor and tap the upload area or drop in your photo. You can add several images.
- Under Save as, choose JPG or WebP. Pick a format accepted by the destination; do not assume both are allowed.
- Start with the default 75% quality setting. The slider runs from 30% to 95%.
- Press Compress. Read the before-and-after size beside each processed file.
- Download the result and inspect it. If it is too large, lower quality a little and run compression again.
- Stop when the file is comfortably under the limit and important details remain clear.
The compressor keeps the original pixel width and height. It creates a new output rather than overwriting your source file, and you can download individual results or package the outputs into a ZIP. For an upload form, select the image itself unless the instructions explicitly request an archive.
Processing happens in your browser using the selected local files; the compressor does not send those images to a processing server.
What the quality slider does—and does not do
The percentage is an encoder quality setting, not a promised percentage reduction in file size. Setting quality to 50% does not mean a 400 KB file will become 200 KB. MDN documents the browser canvas quality parameter for formats with lossy compression, including JPEG and WebP; it is not a target file-size parameter.
JPEG uses lossy compression, so smaller output can come with lost detail. Inspect fine lettering, hair, patterned clothing and signature edges rather than judging only the thumbnail. An image that is already efficiently compressed might not get smaller after another export.
JPG export in this compressor fills transparent areas with white. If you need a transparent background, do not choose JPG. WebP supports transparency, but the destination still needs to accept it. The compressor’s output menu does not include PNG, even though you can select browser-readable PNG images as input.
Resize when compression alone is not enough
Open the image resizer when the photo contains more pixels than you need. Enter a new Width (px) and press Resize. The tool calculates height from the original proportions; it does not provide separate width and height boxes or a target-KB setting.
For example, reducing a 2400 × 1600 image to 1200 pixels wide produces a 1200 × 800 image. That is a dimension calculation, not a prediction of its final file size. Download and check the actual result before deciding whether more compression is needed.
The resizer preserves PNG or WebP output for those respective input types and otherwise exports JPG for images the browser can decode. Unlike the compressor, it has no output-format selector. If your form specifies exact width and height that do not match the original proportions, resizing alone will not solve that mismatch.
Worked example: fitting a hypothetical 200 KB limit
Imagine an admission form asks for a JPG below 200 KB, and your original photo is larger. These are example requirements, not a claim about a named institution.
First export JPG at the compressor’s default quality. Check the downloaded size and preview the face at a useful viewing size. If the file remains above the limit, try lower quality and compare again.
If visible damage appears before you meet the limit, return to the original. Where the form allows smaller dimensions, resize to a suitable width first, then add that downloaded copy to the compressor. Do not assume a particular width guarantees 200 KB: image content and encoding affect the result. Submit only after size, dimensions, format and clarity all pass your checks.
Common mistakes to avoid
- Renaming the extension: changing a filename does not perform the tool’s encoding step. Export the required format instead.
- Shrinking against the instructions: do not reduce dimensions below a form’s stated requirements just to meet its size limit.
- Chasing the smallest possible file: a barely legible signature is not a useful result, even if it uploads.
- Expecting identical batch results: the same quality setting does not give every picture the same KB size. Check each output.
- Working from an already damaged copy: keep the original and use it when trying a different approach.
Make a smaller copy, then verify it
Start with the image compressor, compare the output, and use the resizer only when the destination permits smaller dimensions. For more background on the trade-off, read compressing images without losing quality. The goal is a file that meets the upload rules while keeping the details people need to see.
Frequently asked questions
Can I enter an exact target such as 100 KB?
No. The compressor has a quality slider and JPG or WebP output, not a target-KB field. Export, check the size and adjust as needed.
Does compression change the width and height?
The compressor keeps the original pixel dimensions. Use the separate resizer to set a width; height follows proportionally.
Why is my photo still too large at lower quality?
Quality is not a file-size guarantee. If the upload rules allow it, reduce the dimensions and check another export.
Are my photos uploaded for compression?
The compressor and resizer process the selected images locally in your browser, rather than sending them to a processing server.
Useful on MayreDukaan
Sources
Facts last checked against these sources on 15 Nov 2026, 07:42 Pakistan time.
Images: Illustration created for MayreDukaan (not a photo)
More trending articles
 EntertainmentWatch Pakistani News Live Through Official Links15 Nov 2026 · 4 min read
 Pakistani DramasWatch Pakistani Dramas Online on Official Channels15 Nov 2026 · 5 min read
 Shopkeeper GuidesTake Your Shop Online in Pakistan: Setup Guide15 Nov 2026 · 4 min read
 Shopkeeper GuidesInstall the MayreDukaan APK on Android: A Guide15 Nov 2026 · 4 min read