
How to Convert JPG to WebP for Website Images Free
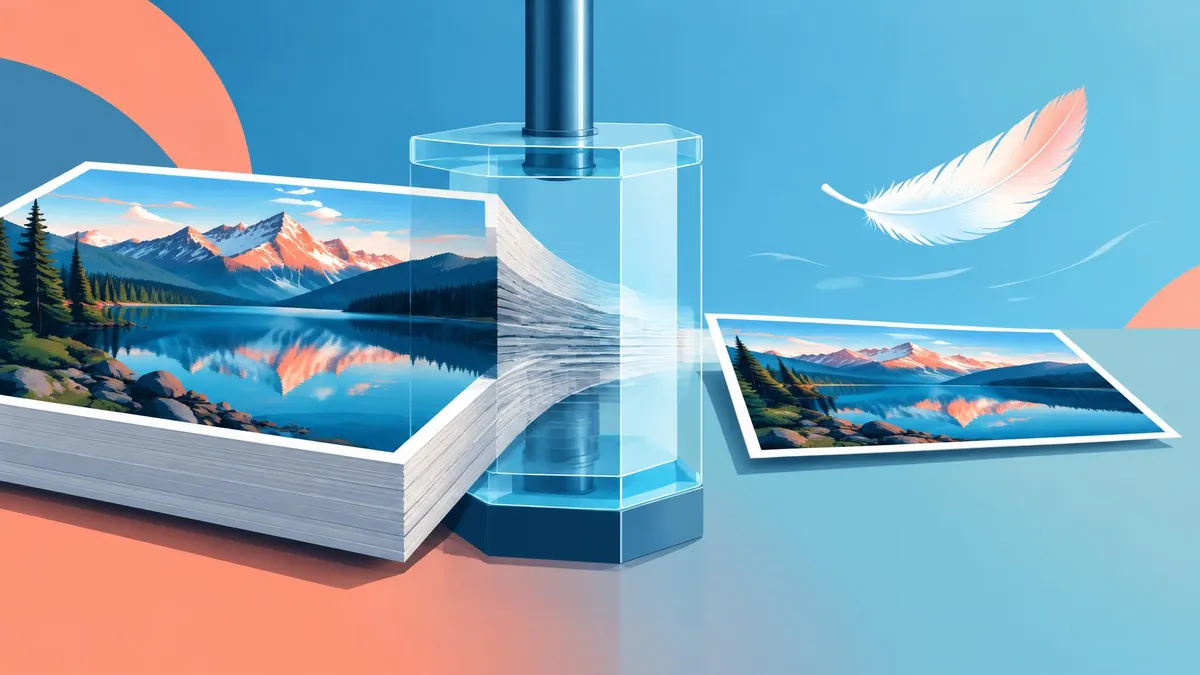
Create WebP copies of JPG photos using the dedicated converter, then check whether the results are actually smaller and suitable for your website.
To convert JPG to WebP, open MayreDukaan's JPG-to-WebP converter, select your JPG or JPEG files, choose a quality setting and press Convert to WebP. Download a completed image individually, or use Download ZIP after at least two images finish. Conversion runs in your browser on your device.
The important next step is checking the result. WebP can reduce the delivery size of website photos, but no converter can promise that every JPG will become smaller or look identical after another lossy encode.
Before you start
Keep your original JPG as a master. Use the WebP as a website or sharing derivative, not as the only remaining copy of an important photograph. If you later need a different export, returning to the original avoids unnecessary conversion generations.
Check that your destination accepts WebP. Support in a browser is not the same as support in every upload form, document editor or marketplace. A site that explicitly requires JPG should receive JPG; creating WebP would solve the wrong problem.
For the broader format decision, see JPG vs PNG vs WebP. This tutorial focuses on the forward JPG-to-WebP process rather than repeating the general comparison.
Step-by-step JPG-to-WebP conversion
- Open the dedicated JPG-to-WebP page.
- Tap the file area and select a JPG or JPEG. On a computer, you can also drag the file into the drop zone.
- Find the WebP quality slider. It starts at 90% and allows values from 40% to 100%.
- Leave the default for an initial comparison, or choose a different quality before converting.
- Press Convert to WebP and wait until the file row shows a Download link.
- Download the output and open it in a current browser or compatible image viewer.
- Compare its size and appearance with the original, then try the intended website upload.
The converter keeps the decoded source dimensions for this route. There is no width, height, target-KB or crop control on the JPG-to-WebP page. Do not look for an automatic “under 100 KB” option; the interface does not provide one.
How to choose a quality setting
The percentage is an encoder input, not a measured percentage of retained visual detail. A 90% setting does not mean exactly 10% of the image is removed, and it does not predict the output byte count.
Start with one representative photo. Inspect fine hair, foliage, small writing, flat backgrounds and high-contrast edges. If the output is needlessly large, make a new export from the original at a lower setting and compare again. If details become soft or blocky, increase quality or keep the JPG.
For a broader explanation of the visual trade-off, read compressing images without obvious quality loss. Do not judge only by the filename or a thumbnail that hides artifacts.
A practical stopping rule is to choose the smallest derivative that still looks appropriate at its intended display size. A tiny product listing image and a full-width portfolio photograph may need different compromises. These are editorial judgments, not guarantees that one percentage suits every picture.
Does JPG to WebP always save space?
No. Google's WebP overview reports smaller WebP files in its published JPEG comparisons, but those results are not a promise for an already optimized JPG or a particular browser encoder. Your downloaded result is the evidence that matters for your image.
If the WebP is larger, inspect whether the original JPG was already small, whether you chose unnecessarily high quality, and whether the destination actually needs the source's full dimensions. Do not repeatedly convert the same WebP in search of savings; return to the original.
When the real requirement is an upload allowance in KB, follow the existing photo-size reduction guide. Format conversion alone does not guarantee a byte threshold.
Convert several JPGs and download a ZIP
The file input accepts multiple JPGs and JPEGs. Select them together, set the shared quality value, and start conversion. The implementation processes the queue one file at a time and reports results per file.
Download ZIP appears after more than one successful conversion. The archive contains available converted results, so check that every expected row completed before treating it as a finished batch. A failed image is not silently repaired by downloading the archive.
Give source files unique base names first. For example, two files called product.jpg and product.jpeg both become product.webp. The ZIP builder uses those derived names, so a collision can leave only one archive entry. A single-file download lets your operating system handle names separately, but it does not fix an ambiguous batch archive.
What happens if I change quality after conversion?
The current implementation skips rows already marked complete. Moving the quality slider and pressing Convert again does not re-encode those finished rows.
To create a clean comparison, download the first result, press Clear, add the original JPG again, select the new quality and convert. Store the comparison copies with distinct local filenames so you can tell them apart. Never use the first converted file as the source for the second comparison.
Dimensions, transparency and animation
A JPG does not contain an alpha transparency channel. Turning it into WebP does not remove its background or make white areas transparent. If your source is a transparent PNG, use PNG to WebP instead.
This route is for still-image conversion through a browser canvas, not a motion-preserving animation workflow. It also is not an archival metadata-preservation tool. Keep the original if camera information or the original file structure matters to you.
Troubleshooting a rejected output
First confirm that you selected a real JPG rather than changing another file's extension. If decoding fails, try opening the original in a photo application and exporting a fresh JPG copy. Very large images can also strain mobile memory; reduce your batch size before retrying.
If a downloaded file is rejected despite its .webp name, use a current browser and verify the actual file type. MDN notes that unsupported canvas export types fall back to PNG; the filename alone is not proof of its encoding.
Finally, check the upload site's own accepted formats. The right result is not merely a smaller number of bytes: it is a file that preserves the detail you need and works in its intended destination.
Frequently asked questions
Is JPG-to-WebP conversion always smaller?
No. Compare actual downloaded sizes; a previously optimized JPG may not shrink.
Can I batch convert JPGs?
Yes. Add several JPGs and use Download ZIP after at least two successful conversions.
Does 100% quality mean lossless WebP?
The tool has no explicit lossless mode; do not interpret the slider as a lossless guarantee.
Can I change quality and reconvert finished rows?
Clear the list and re-add the originals; completed rows are skipped on another run.
Useful on MayreDukaan
Sources
- Google: WebP format overview
- Google: WebP frequently asked questions
- MDN: Canvas toBlob()
- MDN: Image file type and format guide
Facts last checked against these sources on 16 Nov 2026, 06:47 Pakistan time.
Images: Illustration created for MayreDukaan (not a photo)
More trending articles
 International EntertainmentWhere to Watch TV Series: Find Legal Platforms16 Nov 2026 · 3 min read
 PDF and Document ToolsPowerPoint to PDF: Export Slides or Handouts Safely16 Nov 2026 · 5 min read
 Android and SmartphonesGalaxy S27 Ultra: What Is and Is Not Confirmed16 Nov 2026 · 5 min read
 PDF and Document ToolsWord to PDF: Export Documents Ready for Sharing16 Nov 2026 · 5 min read